The efficiency and convenience of direct thermal label printers have revolutionized labeling tasks for businesses of all sizes.Whether you are an entrepreneur running a small business or a professional responsible for the management of a large portal, a direct thermal label printer can bring unprecedented convenience to your label production, and the effective streamlined process saves you valuable time investment.
Before proceeding, please make sure you meet the following prerequisites:
· Your Direct Thermal Label Printer
· Power Cable
· USB Cable
· Direct Thermal Labels
· Driver Software
Step 1: Install the Driver Software
· Connect your direct thermal label printer to your computer using the USB cable.
· Turn on your computer and printer.
· Locate the manufacturer's website for your direct thermal label printer model.
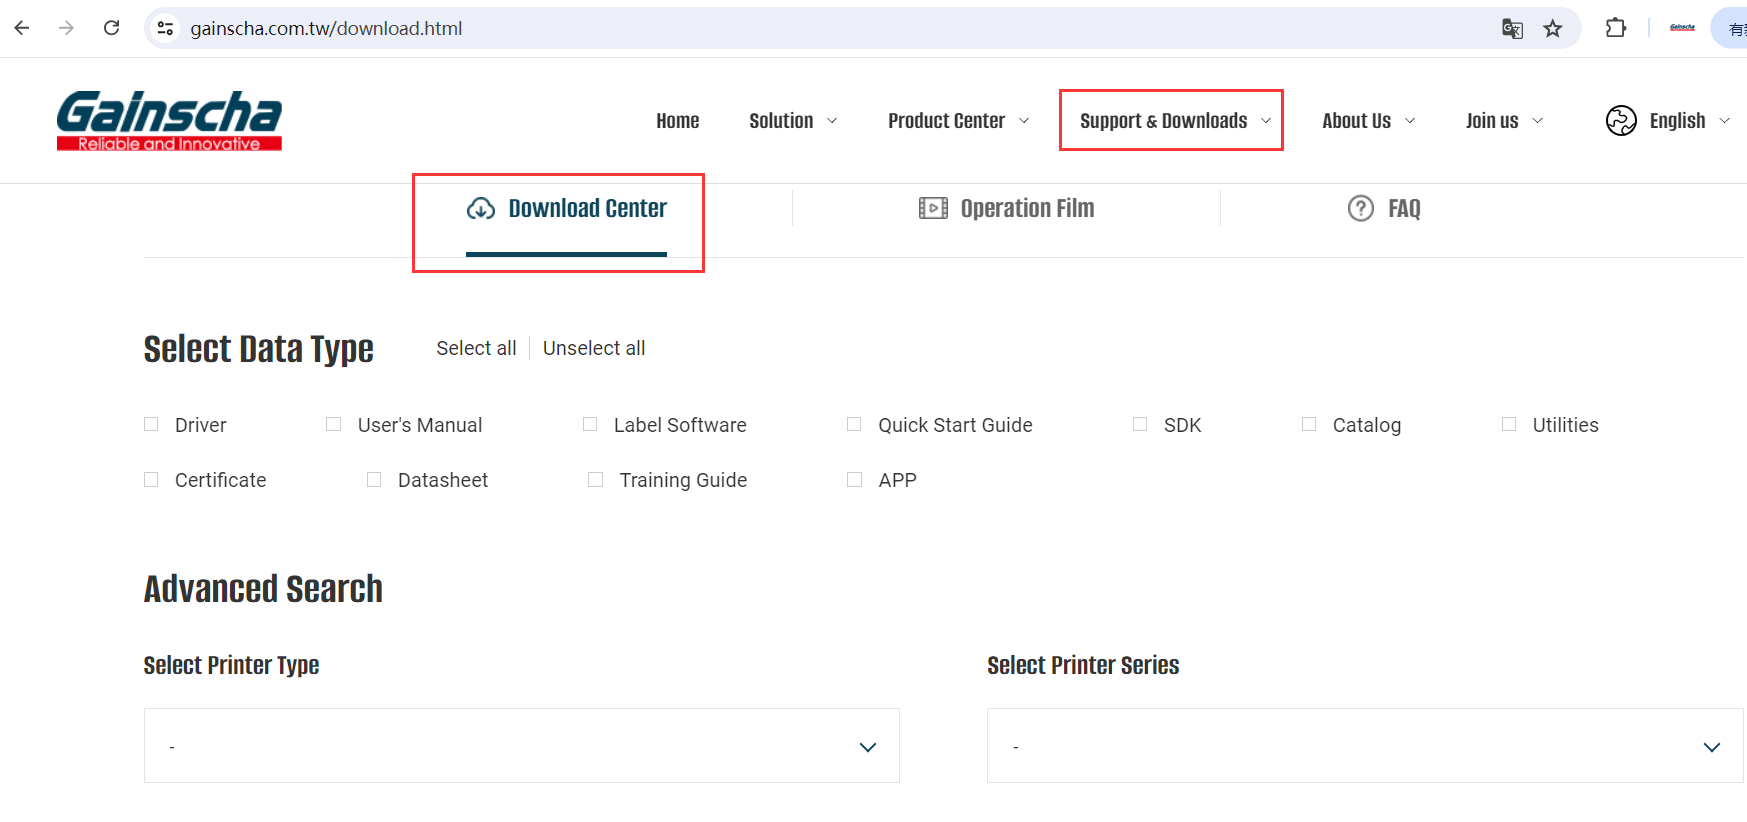
· Navigate the "Support" or "Download" section and find the driver software specific to your operating system (Windows, Mac, etc.).
· Download the driver software and follow the instructions displayed on the screen for installation.
Step 2: Load the Labels
· Open the media compartment of your direct thermal label printer. Refer to your printer manual for specific instructions on opening the compartment.
· Unwind a small portion of your label roll, ensuring the label feed direction is correct (usually indicated by an arrow on the label).
· Place the label roll on the spindle inside the compartment, with the label feeding from the outside of the roll inward.
· Thread the label leader (the blank space before the first label) through the feed path as instructed in the printer manual. You may need to adjust guides to ensure the label is centered.
· Close the media compartment securely, ensuring the label feeds smoothly.
Step 3: Install Driver and Settings
· Please click the gainscha website link: www.gainscha.com.tw and download the driver install.

Step 4:Test Pringting
· Open the Label Software (BarTender)
· Create a simple test label with some text and graphics (if applicable).
· Ensure the test label size matches your actual label size in the program settings.
· Select your direct thermal label printer as the default printer.
· Send the test label to print.
· Evaluate the printed label. If necessary, adjust the printer settings (label size, darkness, etc.) for optimal printing results.
Congratulations! You've successfully set up your direct thermal label printer. Please ensure your labels are compatible with your direct thermal printer. Using incompatible labels can lead to poor printing quality or damage to the printer.


